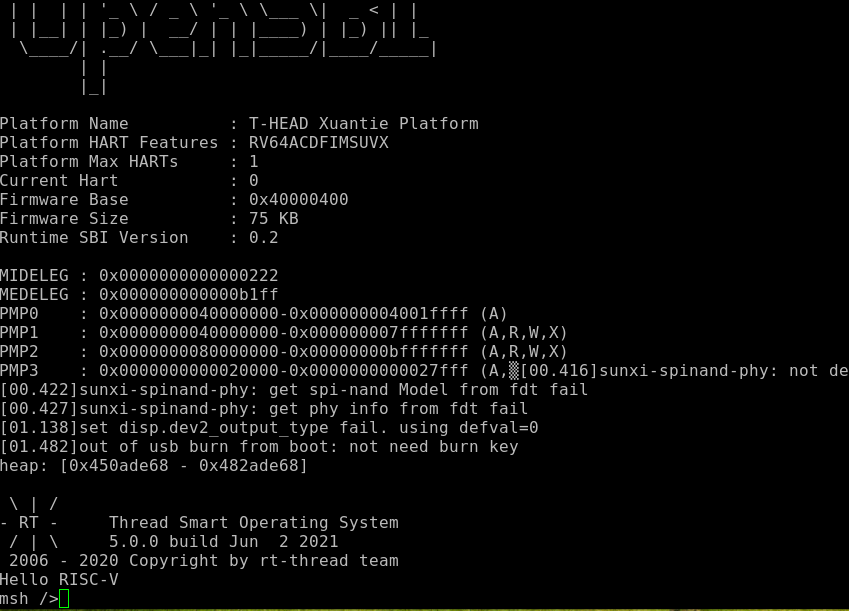
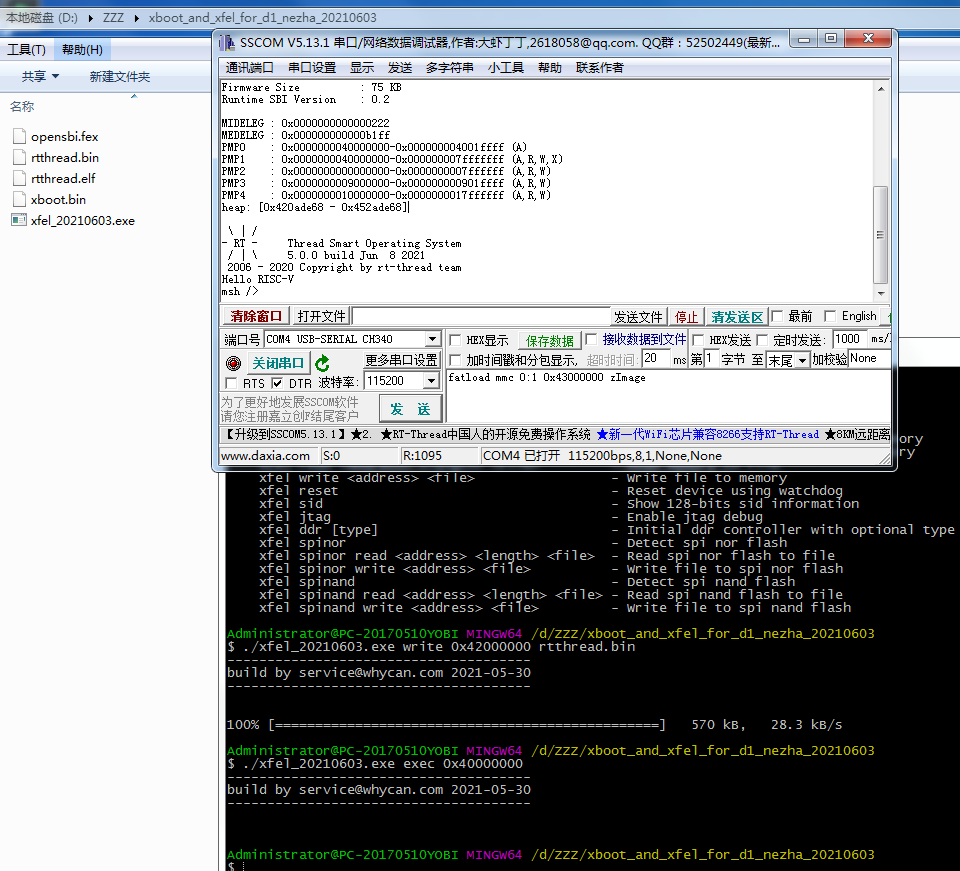
[Happy Hacking Nezha Board] 开始裸奔吧,少年
-
每一个程序员都有一个 OS 梦!
                  - Liangdi
前言
我属于提前批拿到哪吒开发板的,兴奋之余开始研究如何去运行自己的裸机程序,美其名曰:操作系统.
和 mcu 不一样, sbc 级别的 cpu 跑起来要复杂的多,不过好在系统级别的领域,不同的软件分工明确, 我们的裸机程序作为 kernel 部分,等着被引导就好.
尽管 sbc 的系统很复杂, 不过要跑起我们的小小的代码,我们刚开始关心的东西不必要很多.
走出第一步,才能看到后面的广阔天空.
由于没有自己的 OS , 这里用 rt-thread 的 rt-smart 来作为实验验证对象.
uboot
和我们接触的第一个对象就是 uboot , uboot 是哪吒开发板的 bootloader,所以我们要和他搞好关系,了解他,才能让他帮我们完成 kernel 的引导.
哪吒开发板的引导路径大致是这样: BROOM -> spl -> uboot -> [nand | mmc]
通过简单的把玩,发现以下规律, BROOM 中的一级 bootloader 会检测 mmc 和 nand 设备, 如果存在 mmc 设备就会 load mmc boot 分区中的 spl 继续工作, nand 同理.
开发板上有 256MB 的 nand flash, 可以有足够的空间存放我们的程序了, 所以就不考虑 mmc 了.
哪吒的 uboot 和 nand
开发板,接上串口工具,上电,串口中就可以看到系统启动信息了, 如果你什么都不操作就会进入 tina 环境了, 所以开机的时候,连按 s 键盘(和 PC 开机按 F2或者 F10 一样吧) 就可以进入 uboot 环境
如下界面:
先用 mtdparts 查看 nand 信息
mdtparts default
mtdparts
# 输出如下:
device nand0 <nand>, # parts = 4
 #: name                size            offset          mask_flags
 0: boot0               0x00100000      0x00000000      1
 1: uboot               0x00300000      0x00100000      1
 2: secure_storage      0x00100000      0x00400000      1
 3: sys                 0x0fb00000      0x00500000      0

active partition: nand0,0 - (boot0) 0x00100000 @ 0x00000000

defaults:
mtdids  : nand0=nand
mtdparts: mtdparts=nand:1024k@0(boot0)ro,3072k@1048576(uboot)ro,1024k@4194304(secure_storage)ro,-(sys)
从上面可以看到, nand 有四个分区, 前面两个 bootloader , 第三 secure_storage 和我们也没有什么关系, 第四个分区 sys 就是保存用户 os 的地方, 目前就是 tina linux 系统.
查看一下 sys 中的信息
ubi part sys
ubi info l
# 输出如下:
Volume information dump:
        vol_id          0
        reserved_pebs   1
        alignment       1
        data_pad        0
        vol_type        4
        name_len        3
        usable_leb_size 258048
        used_ebs        1
        used_bytes      258048
        last_eb_bytes   258048
        corrupted       0
        upd_marker      0
        name            mbr
Volume information dump:
        vol_id          1
        reserved_pebs   1
        alignment       1
        data_pad        0
        vol_type        3
        name_len        13
        usable_leb_size 258048
        used_ebs        1
        used_bytes      258048
        last_eb_bytes   258048
        corrupted       0
        upd_marker      0
        name            boot-resource
Volume information dump:
        vol_id          2
        reserved_pebs   1
        alignment       1
        data_pad        0
        vol_type        3
        name_len        3
        usable_leb_size 258048
        used_ebs        1
        used_bytes      258048
        last_eb_bytes   258048
        corrupted       0
        upd_marker      0
        name            env
Volume information dump:
        vol_id          3
        reserved_pebs   1
        alignment       1
        data_pad        0
        vol_type        3
        name_len        10
        usable_leb_size 258048
        used_ebs        1
        used_bytes      258048
        last_eb_bytes   258048
        corrupted       0
        upd_marker      0
        name            env-redund
Volume information dump:
        vol_id          4
        reserved_pebs   29
        alignment       1
        data_pad        0
        vol_type        3
        name_len        4
        usable_leb_size 258048
        used_ebs        29
        used_bytes      7483392
        last_eb_bytes   258048
        corrupted       0
        upd_marker      0
        name            boot
...
我们看到了一些熟悉的信息,系统镜像的分区表, 就是 tina sdk 打包出来的产物.
那么 uboot 如何引导 nand 中的系统的呢?
使用 printenv 查看一下 uboot 的环境变量,下面列出重要的部分:boot_normal=sunxi_flash read 45000000 ${boot_partition};bootm 45000000 boot_partition=boot bootcmd=run setargs_nand_ubi boot_normal partitions=mbr@ubi0_0:boot-resource@ubi0_1:env@ubi0_2:env-redund@ubi0_3:boot@ubi0_4:rootfs@ubi0_5:dsp0@ubi0_6:recovery@ubi0_7:UDISK@ubi0_8: root_partition=rootfs setargs_nand_ubi=setenv bootargs ubi.mtd=${mtd_name} ubi.block=0,${root_partition} earlyprintk=${earlyprintk} clk_ignore_unused initcall_debug=${initcall_debug} console=${console} loglevel=${loglevel} root=${nand_root} rootfstype=${rootfstype} init=${init} partitions=${partitions} cma=${cma} snum=${snum} mac_addr=${mac} wifi_mac=${wifi_mac} bt_mac=${bt_mac} specialstr=${specialstr} gpt=1 ubi_attach_mtdnum=3就以上这几行就可以了, 对我们来说关键作用的只有前 3 行.
bootcmd这个是 uboot 启动时候执行的变量, 内容是run setargs_nand_ubi和boot_normal其中
setargs_nand_ubi是设置bootargs的, 是 Linux 关心的东西.
我们主要看boot_normalboot_normal大致含义是 flash 工具读取${boot_partition}(解析后是boot) 位置的数据到内存0x45000000的位置, 然后bootm引导0x45000000位置的内核.所以,简单的方法就是我们把我们自己的 OS 程序,写入到 nand 中 boot 分区的位置,理论上就可以了.
构建 nand 和引导自己的系统
起初本来想用 xboot 的 xfel 工具将数据写入 nand, 然后发现没有实现,所以先跳过, 等后续支持了就会更方便了.
tina sdk 中
device/config/chips/d1/configs/nezha_min/sys_partition.fex这个文件是pack的配置信息 , 根据文件知道pack命令会把 boot.img 打包到 nand 的 boot 分区, 这个就是我们所要的,所以最简单的方法就是把我们自己的 bin 文件替换调 boot.img , 然后 tina sdk 中执行pack,生成的产物tina_d1-nezha_min_uart0.img中就包含了我们的代码了.然后用全志的工具,将
tina_d1-nezha_min_uart0.img烧录到哪吒主板上.第一步就完成了.这样就可以正常引导了么? 答案是否定的.
在前面 uboot 的引导指令用的是
bootm 45000000, bootm 是引导 linux kernel 的,包含了引导协议的一些东西, 我们作为一个裸机程序,我们可以使用 uboot 的go命令之间跳转到0x45000000处运行, 将 boot_normal 改为sunxi_flash read 45000000 ${boot_partition};go 45000000即可, 但是目前 tina 默认的 uboot 没有编译go指令, 进入lichee/brandy-2.0/u-boot-2018目录, 执行make menuconfig, 然后在 Command line interface --> Boot commands 中选中 go 指令,保存后,重新编译, 在打包一次就可以了.tina uboot 默认的环境变量信息在文件
device/config/chips/d1/configs/nezha/env.cfg里面,可以将 boot_normal 改好后再编译,就不用在 uboot 交互界面中修改环境变量了.上电

bingo!
少年, 下一步就开始在哪吒上运行你的 Dreeam OS 吧!
最后的补充注意事项: RISC-V 芯片运行在 SBI 环境, S Mode 下,所以如果裸机程序 M 模式的代码是无法正常运行的.
-
优秀,明天跟着大佬脚步试一试。
-
请问rt-smart如何编译?
-
@whycan https://gitlab.eduxiji.net/lizhirui/project325618-83178.git
用 riscv64-unknown-elf 的工具链就可以 -

经过七七四十九道坎,终于用xfel + sbi把楼主的rt跑起来了。
-
好文,适配过程过程翔实干货满满
膜您! -
Referenced by
 Kirin
Kirin
-
您好,感谢您的分享,给了我很大的启发!想请教一下我按照您的方法修改uboot并重新编译以后,上电时会卡在“Board Net Initialization Failed...No ethernet found.”的后面,无论我pack时使用的boot.img是原linux的boot.img还是我自己想跑起来的os(一个rust版本的FreeRTOS)。我知道输出“Board Net Initialization Failed...No ethernet found.”本身是正常的,我也进入uboot模式观察环境变量确实改对了,但是不明白为什么会卡住。希望得到您的帮助!

-
Referenced by L leanrd_chen00918
-
@liangdi nbnb
-
hello 楼主
我现在全志的sdk下载一直有毛病
可以分享一下已经编译好的img我先烧录看一下效果吗? -
@leanrd_chen00918 在 [Happy Hacking Nezha Board] 开始裸奔吧,少年 中说:
您好,感谢您的分享,给了我很大的启发!想请教一下我按照您的方法修改uboot并重新编译以后,上电时会卡在“Board Net Initialization Failed...No ethernet found.”的后面,无论我pack时使用的boot.img是原linux的boot.img还是我自己想跑起来的os(一个rust版本的FreeRTOS)。我知道输出“Board Net Initialization Failed...No ethernet found.”本身是正常的,我也进入uboot模式观察环境变量确实改对了,但是不明白为什么会卡住。希望得到您的帮助!

我也卡在了这里请问你解决了嘛?
@liangdi -
@zhayujie 在 [Happy Hacking Nezha Board] 开始裸奔吧,少年 中说:
@leanrd_chen00918 在 [Happy Hacking Nezha Board] 开始裸奔吧,少年 中说:
您好,感谢您的分享,给了我很大的启发!想请教一下我按照您的方法修改uboot并重新编译以后,上电时会卡在“Board Net Initialization Failed...No ethernet found.”的后面,无论我pack时使用的boot.img是原linux的boot.img还是我自己想跑起来的os(一个rust版本的FreeRTOS)。我知道输出“Board Net Initialization Failed...No ethernet found.”本身是正常的,我也进入uboot模式观察环境变量确实改对了,但是不明白为什么会卡住。希望得到您的帮助!

我也卡在了这里请问你解决了嘛?
@liangdi找到原因了,修改uboot环境变量时,需要修改的文件是:
tina-D1-H/device/config/chips/d1-h/configs/nezha_min/env.cfg
Copyright © 2024 深圳全志在线有限公司 粤ICP备2021084185号 粤公网安备44030502007680号