全志V3S嵌入式驱动开发 - 网卡驱动
-
一开始上来就说网卡,好像有点不太对劲。这主要是因为如果开发板可以连接网络的话,可以帮我们节约很多的时间,开发效率也会得到提高。另外一方面,v3s自身也比较特殊,因为它自己集成了mac和phy,所以驱动本身并不是那么好写。好在v3s帮助客户做好了这一点,我们要做的只是需要把内核升级到4.14.y就可以,其他什么都不用做。
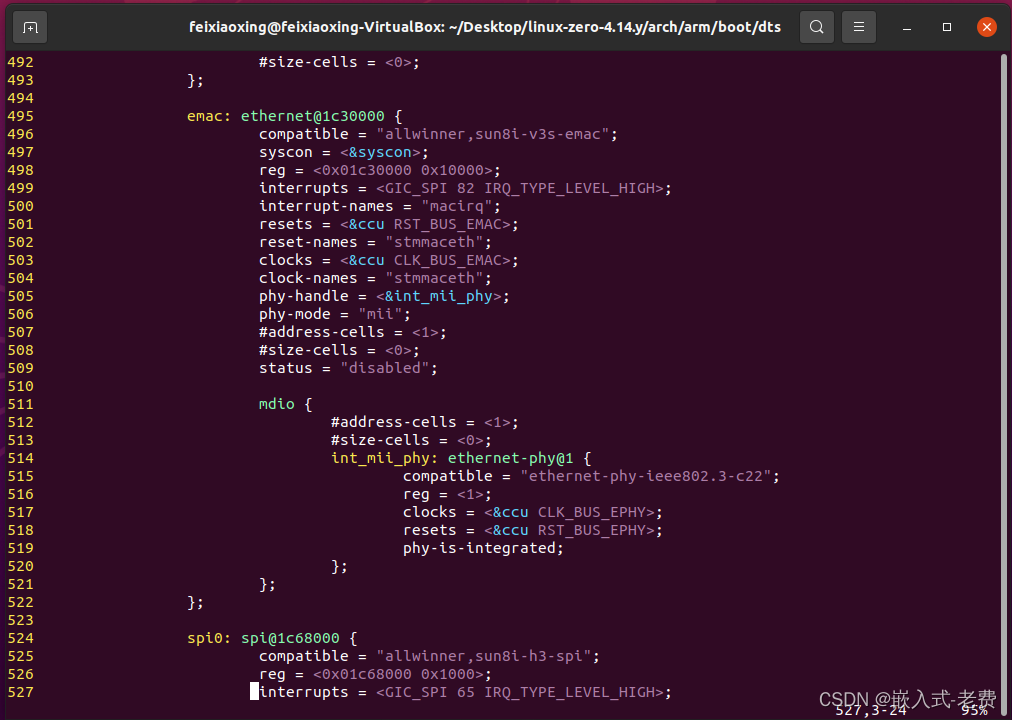
查看翻了一下,在之前4.10.y版本里面,sun8i-v3s.dtsi文件当中根本没有emac的内容,但是在4.14.y当中,我们看到了相关的脚本,所以果断把内核切到4.14.y,
1、第一步,重新编译内核和dtb文件
注意更换zImage和sun8i-v3s-licheepi-zero-dock.dtb。其中设备树文件一定要跟着替换,这是至关重要的。有兴趣的同学,可以看这里的驱动代码
https://github.com/Lichee-Pi/linux/blob/zero-4.14.y/drivers/net/ethernet/stmicro/stmmac/dwmac-sun8i.c2、启动开发板、插上网线
buildroot login: root
# ifconfig
lo        Link encap:Local Loopback
          inet addr:127.0.0.1  Mask:255.0.0.0
          UP LOOPBACK RUNNING  MTU:65536  Metric:1
          RX packets:0 errors:0 dropped:0 overruns:0 frame:0
          TX packets:0 errors:0 dropped:0 overruns:0 carrier:0
          collisions:0 txqueuelen:1000
          RX bytes:0 (0.0 B)  TX bytes:0 (0.0 B)
输入root密码之后,我们输入ifconfig,提示并没有网卡。这是什么情况?其实主要是因为还没有手动把网卡启动开来。只要输入ifconfig eth0 up即可,
# ifconfig eth0 up
[   13.914168] Generic PHY stmmac-0:01: attached PHY driver [Generic PHY] (mii_bus:phy_addr=stmmac-0:01, irq=POLL)
[   13.926199] dwmac-sun8i 1c30000.ethernet eth0: No MAC Management Counters available
[   13.933868] dwmac-sun8i 1c30000.ethernet eth0: PTP not supported by HW
# [   16.004609] dwmac-sun8i 1c30000.ethernet eth0: Link is Up - 100Mbps/Full - flow control rx/tx

# ifconfig
eth0      Link encap:Ethernet  HWaddr 02:00:A4:52:F3:CC
          UP BROADCAST RUNNING MULTICAST  MTU:1500  Metric:1
          RX packets:0 errors:0 dropped:0 overruns:0 frame:0
          TX packets:0 errors:0 dropped:0 overruns:0 carrier:0
          collisions:0 txqueuelen:1000
          RX bytes:0 (0.0 B)  TX bytes:0 (0.0 B)
          Interrupt:38

lo        Link encap:Local Loopback
          inet addr:127.0.0.1  Mask:255.0.0.0
          UP LOOPBACK RUNNING  MTU:65536  Metric:1
          RX packets:0 errors:0 dropped:0 overruns:0 frame:0
          TX packets:0 errors:0 dropped:0 overruns:0 carrier:0
          collisions:0 txqueuelen:1000
          RX bytes:0 (0.0 B)  TX bytes:0 (0.0 B)
这个时候再输入ifconfig,就会发现多了一个eth0的网卡。这就是需要配置的部分,继续输入ip、netmask和gateway。
# ifconfig eth0 192.168.0.230 netmask 255.255.255.0 broadcast 192.168.0.1
# ifconfig
eth0      Link encap:Ethernet  HWaddr 02:00:A4:52:F3:CC
          inet addr:192.168.0.230  Bcast:192.168.0.1  Mask:255.255.255.0
          UP BROADCAST RUNNING MULTICAST  MTU:1500  Metric:1
          RX packets:15 errors:0 dropped:0 overruns:0 frame:0
          TX packets:0 errors:0 dropped:0 overruns:0 carrier:0
          collisions:0 txqueuelen:1000
          RX bytes:1197 (1.1 KiB)  TX bytes:0 (0.0 B)
          Interrupt:38

lo        Link encap:Local Loopback
          inet addr:127.0.0.1  Mask:255.0.0.0
          UP LOOPBACK RUNNING  MTU:65536  Metric:1
          RX packets:0 errors:0 dropped:0 overruns:0 frame:0
          TX packets:0 errors:0 dropped:0 overruns:0 carrier:0
          collisions:0 txqueuelen:1000
          RX bytes:0 (0.0 B)  TX bytes:0 (0.0 B)

        通过ifconfig查看,可以发现当前addr、bcast和mask都已经配置上了。为了进一步验证判断开发板和电脑之间是否通信正常,可以输入ping命令来验证,

# ping 192.168.0.101
PING 192.168.0.101 (192.168.0.101): 56 data bytes
64 bytes from 192.168.0.101: seq=0 ttl=128 time=28.197 ms
64 bytes from 192.168.0.101: seq=1 ttl=128 time=48.854 ms
64 bytes from 192.168.0.101: seq=2 ttl=128 time=1.981 ms
64 bytes from 192.168.0.101: seq=3 ttl=128 time=96.510 ms
64 bytes from 192.168.0.101: seq=4 ttl=128 time=3.070 ms
^C
--- 192.168.0.101 ping statistics ---
5 packets transmitted, 5 packets received, 0% packet loss
round-trip min/avg/max = 1.981/35.722/96.510 ms
从打印来看一切正常,没有什么问题。
3、通过网络验证第一个用户侧程序
开发到现在,我们还没有开发过应用程序。不妨写一个简单的hello来验证下,像这样,
#include <stdio.h>

int main(int argc, char* argv[])
{
	printf("hello, world!\n");
	return 0;
}
        使用交叉编译器编译一下即可,

arm-linux-gnueabihf-gcc hello.c -g -o hello
编译好了,关键是我们怎么把程序从虚拟机拷贝到开发板呢。关于这个流程,可以这么来做,首先,把程序从虚拟机拷贝到windows目录下,
sudo cp hello /media/sf_Downloads/接着,对于hello所在的目录,用python命令将其设置为web服务器的起始目录,
C:\Python39\python.exe -m http.server 9000 --bind 192.168.0.101 -d C:\Users\feixiaoxing\Downloads最后一步就比较简单了,那就是用开发板上面的wget命令下载hello文件,
# wget -c http://192.168.0.101:9000/hello
Connecting to 192.168.0.101:9000 (192.168.0.101:9000)
hello                100% |*******************************| 12264   0:00:00 ETA
注意,这个时候,hello文件还没有被当成是可执行文件,所以需要chmod一下才能执行,
# ls
hello
# chmod +x hello
# ls
hello
# ./hello
hello, world!
4、继续验证第一个驱动文件
前面我们说了应用程序是怎么写的,这个时候就可以看下驱动是怎么编写的,其实步骤差不多,首先准备驱动文件,
#include <linux/init.h>
#include <linux/sched.h>
#include <linux/module.h>

MODULE_LICENSE("GPL");
MODULE_AUTHOR("feixiaoxing");
MODULE_DESCRIPTION("This is just a hello module!\n");

static int __init hello_init(void)
{
        printk(KERN_EMERG "hello, init\n");
        return 0;
}

static void __exit hello_exit(void)
{
        printk(KERN_EMERG "hello, exit\n");
}

module_init(hello_init);
module_exit(hello_exit);
因为驱动本身是和kernel强绑定在一起的,所以一般情况下还需要写一个makefile,其中KDIR的位置十分重要,
ifneq ($(KERNELRELEASE),)
obj-m := hello.o

else
PWD  := $(shell pwd)
KDIR := /home/feixiaoxing/Desktop/linux-zero-4.14.y
all:
	$(MAKE) -C $(KDIR) M=$(PWD) modules CROSS_COMPILE=arm-linux-gnueabihf- ARCH=arm
clean:
	rm -rf .*.cmd *.o *.mod.c *.ko .tmp_versions *.order *.symvers
endif
此时,所需要做的就是输入make命令即可,这样就可以生成ko文件。生成了hello.ko之后,接着就需要把这个文件copy到开发板上面,流程和copy应用层的执行文件是一样的,这里略过。
# wget -c http://192.168.0.101:9000/hello.ko
Connecting to 192.168.0.101:9000 (192.168.0.101:9000)
hello.ko             100% |*******************************|  3340   0:00:00 ETA
为了验证我们的驱动是否正确,可以通过insmod、lsmod和rmmod这个三个命令,并结合相关打印来综合进行判断。
# ls
hello     hello.ko
# lsmod
Module                  Size  Used by    Not tainted
# insmod hello.ko
[ 1704.500799] hello: loading out-of-tree module taints kernel.
[ 1704.507037] hello, init
# lsmod
Module                  Size  Used by    Tainted: G
hello                  16384  0
# rmmod hello
[ 1719.946160] hello, exit
# lsmod
Module                  Size  Used by    Tainted: G
5、总结
有了网络驱动,确实可以提高我们开发的效率。除了串口之外,网络几乎是嵌入式开发最重要的开发方式。当然,它不仅仅可以接收外部的命令控制,还可以和各种传感器进行通信,这样就能构成一个基本的嵌入式系统产品。
Copyright © 2024 深圳全志在线有限公司 粤ICP备2021084185号 粤公网安备44030502007680号