《OKT536N-C测评 》之开箱、环境编译和QT Demo!
-
《OKT536N-C测评 》之开箱、环境编译和QT Demo!
一、开箱
-
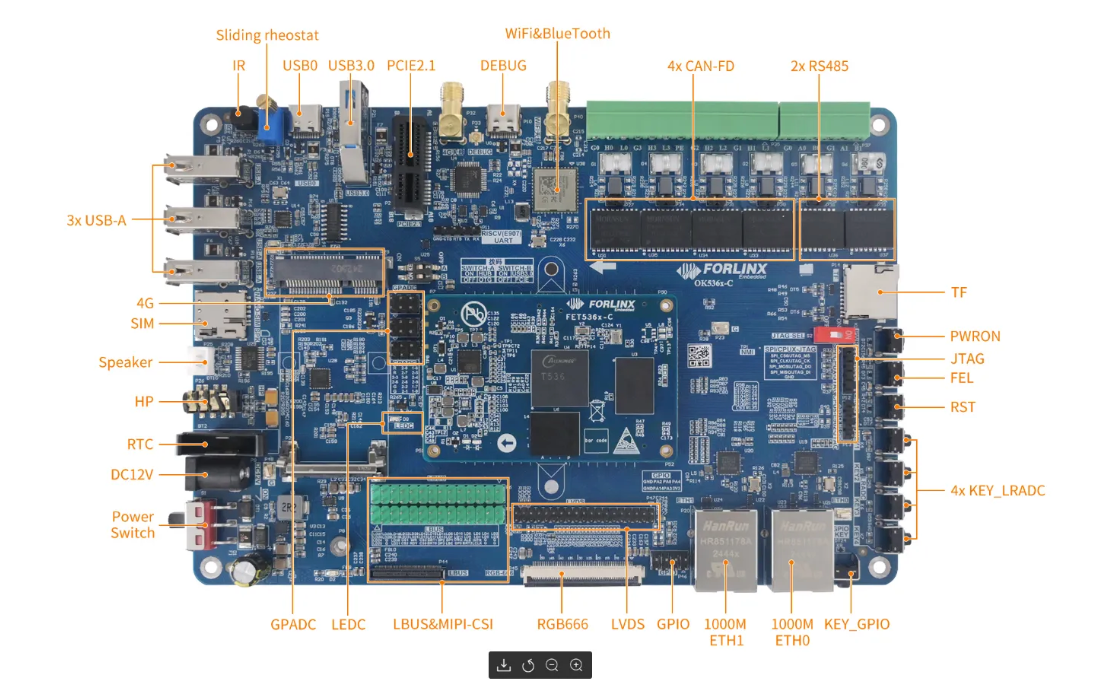
介绍板子
OK536开发板采用核心板+底板的结构形式,基于全志T536处理器设计开发,T536主频 1.6GHz,集成四核 Cortex A55、64 位玄铁 E907 RISC V MCU,提供高效的计算能力;T536 支持 2tops NPU、安全启动、国密算法 IP、全通路ECC、AMP、Linux RT 等;T536 还具备广泛的连接接口:USB、SDIO、UART、SPl、CAN、Ethernet、ADC、LocalBus 等一应俱全。
-
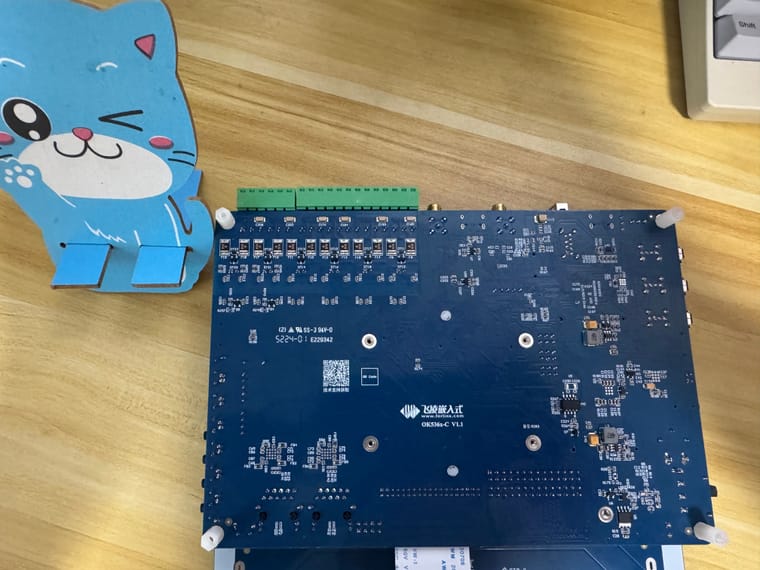
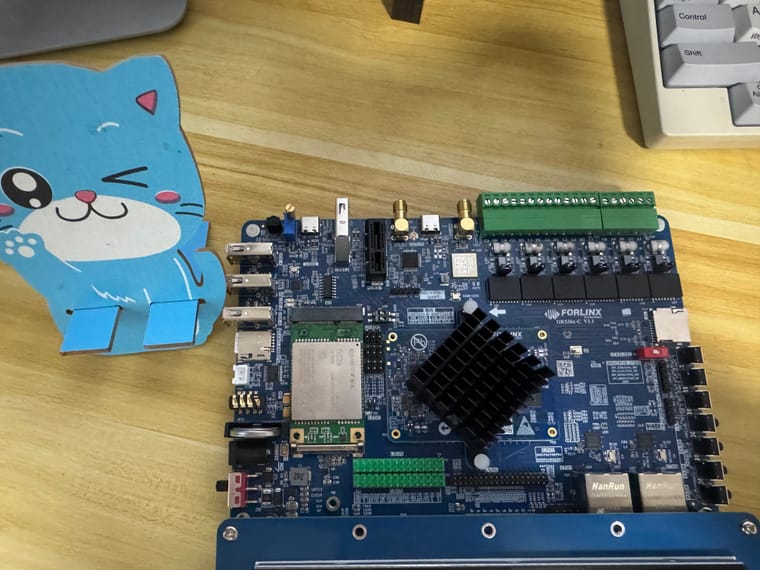
开箱
-
感谢forlink给了这次测评的机会,板子用料一直都很“扎实”,飞凌给我感受很好的一点就是文档,跟着文档基本上就能做出来,有些问题点,再问下技术支持,也就都解决了。
二、环境搭建、编译和调试
-
SDK拷贝、解压和config配置(使用的是飞凌ubuntu20.04)
a. SDK解压 forlinx@ubuntu:~/work$ cat OKT536-linux-sdk.tar.bz2.* | tar jxv b. buildroot配置 make sun55iw6p1_t536_defconfig make menuconfig make savedefconfig make -
SDK编译时,会遇到没有python3.10的问题
以下是在Ubuntu上安装Python 3.10的步骤: 首先更新包列表: sudo apt update 安装必要的依赖: sudo apt install software-properties-common -y 添加deadsnakes PPA仓库(这是最常用的方式获取多个Python版本): sudo add-apt-repository ppa:deadsnakes/ppa 再次更新包列表: sudo apt update 安装Python 3.10: sudo apt install python3.10 安装pip(Python的包管理器): sudo apt install python3.10-pip 安装开发包(如果你需要编译Python扩展): sudo apt install python3.10-dev 安装venv模块(用于创建虚拟环境): sudo apt install python3.10-venv 安装完成后,你可以通过以下命令验证安装: python3.10 --version 对于条件编译,你可以根据需要使用特定版本的Python: 使用Python 3.8: python3.8 your_script.py 使用Python 3.10: python3.10 your_script.py -
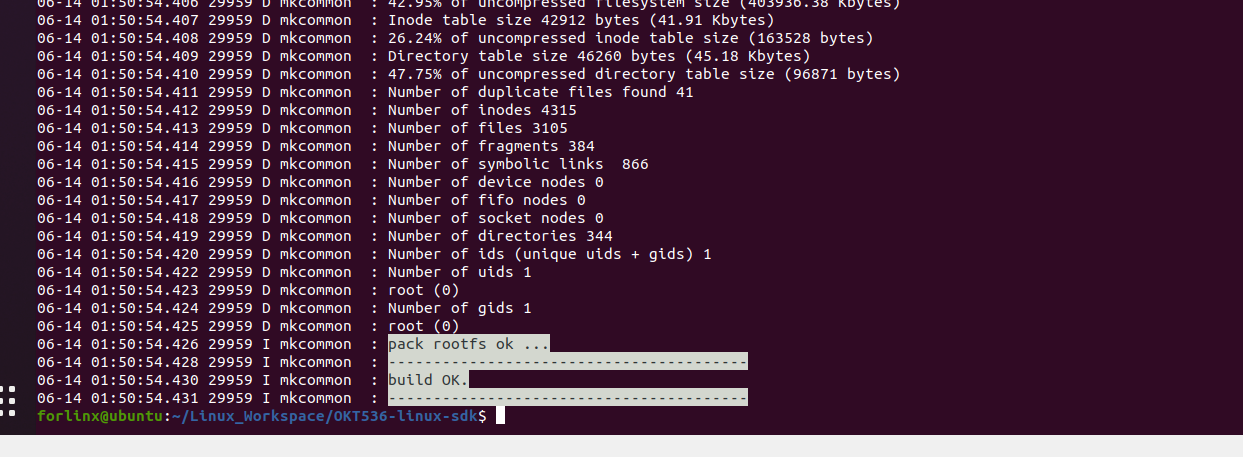
正常编译,编译结果截图
-
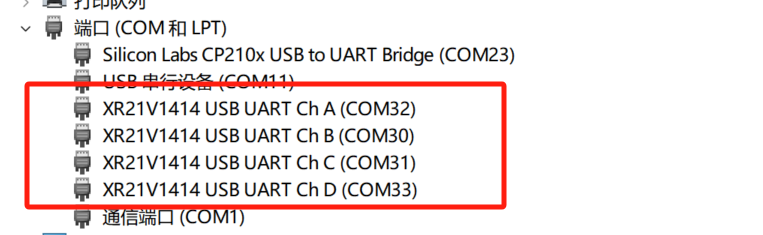
debug调试:需要安装特定的串口驱动,确保如截图
三、QT Demo
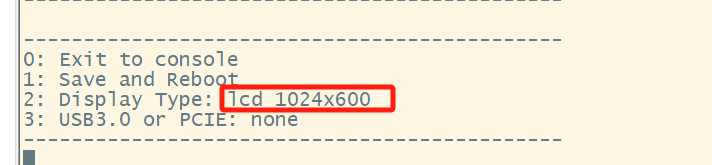
- 屏幕:我们这边用之前项目剩下的RGB屏幕,所以暂时不用考虑适配,不过如果需要适配,uboot切换屏幕显示(飞凌一般会把这个放在设备树里设置)
-
交叉编译,不使用/opt/hots/改用编译SDK之后的指定路径

-
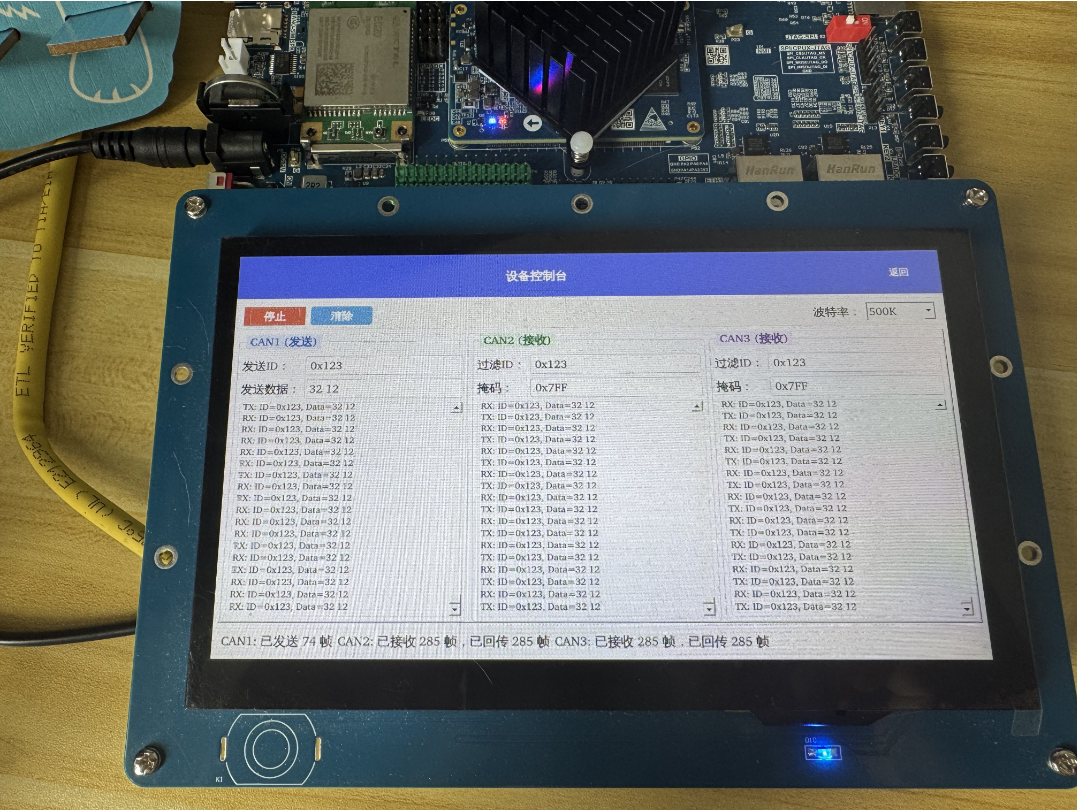
因为T536N有4个CAN,我这里使用CAN1给CAN2和CAN3接在一起,使用CAN1发送数据,CAN2和CAN3负责接收数据

-
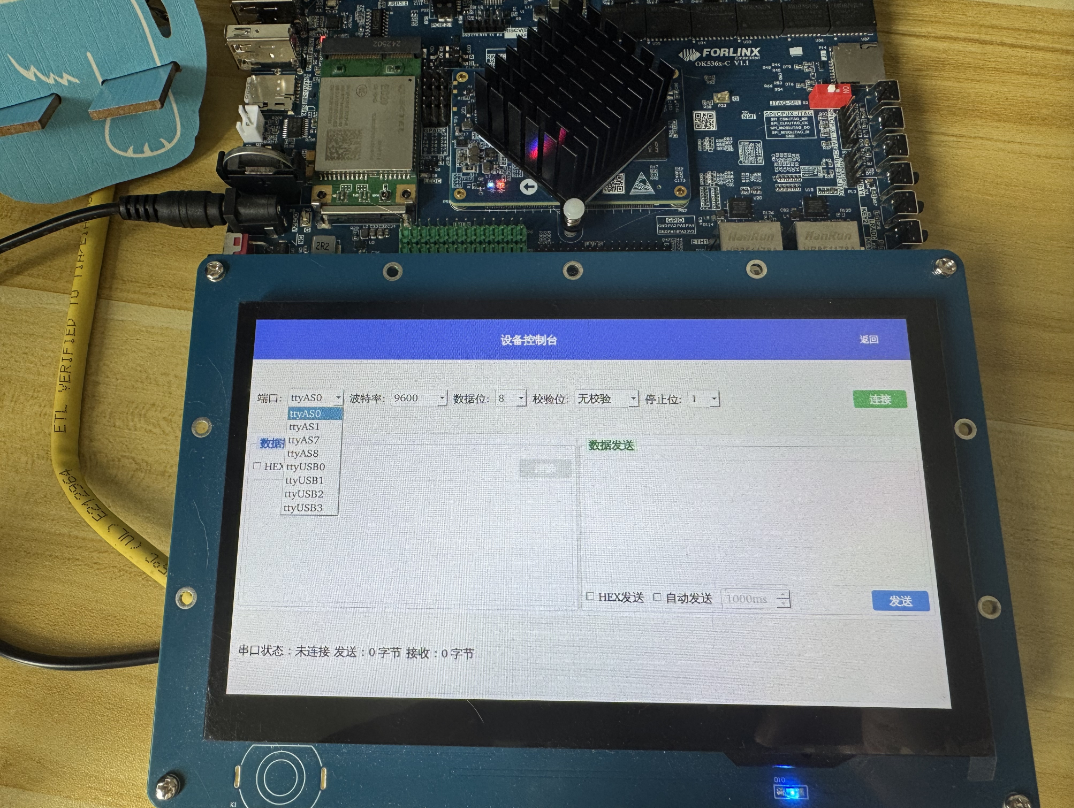
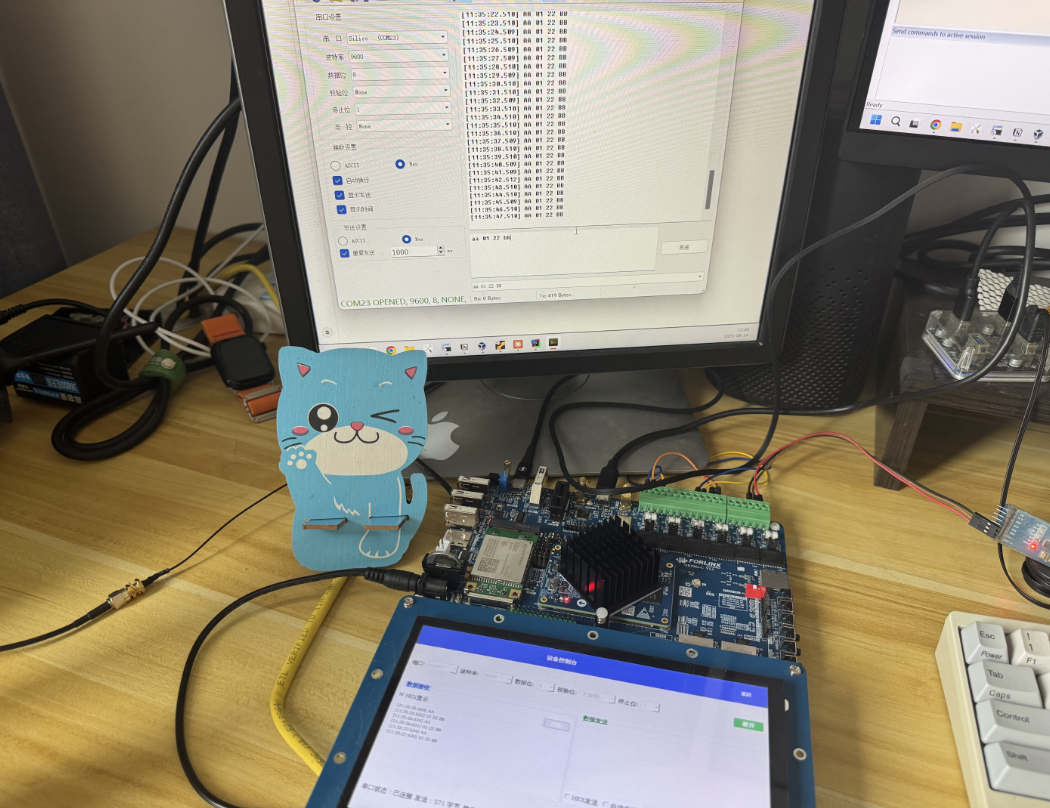
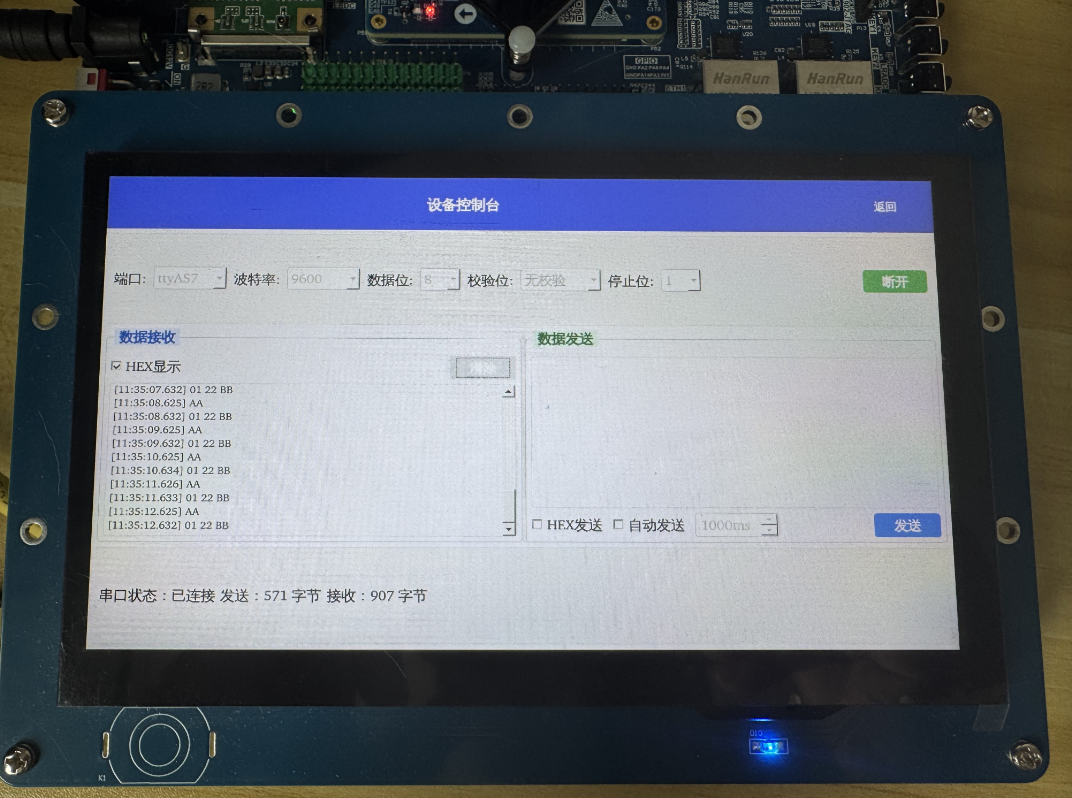
T536N现在设备树放出来有4个串口,分别是ttyAS0、ttyAS1、ttyAS7、ttyAS8,我这里使用485_1,用来测试通讯
5. 我们计划顺便测试下WiFi部分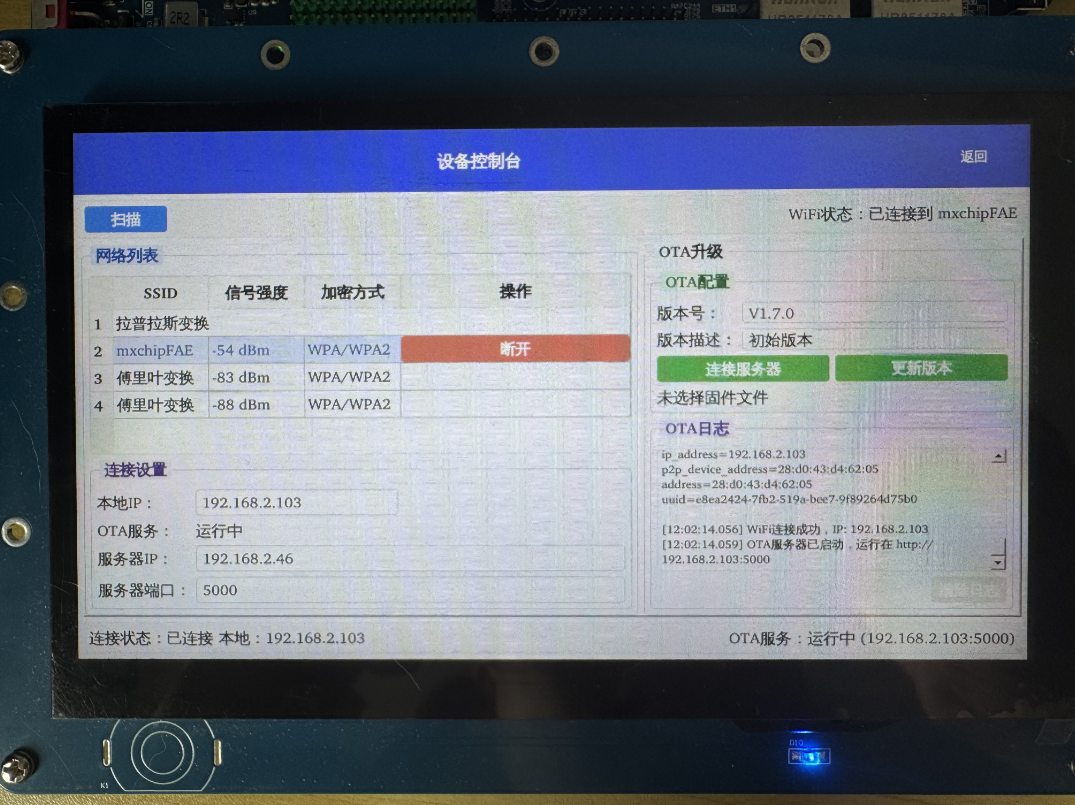
-
Copyright © 2024 深圳全志在线有限公司 粤ICP备2021084185号 粤公网安备44030502007680号